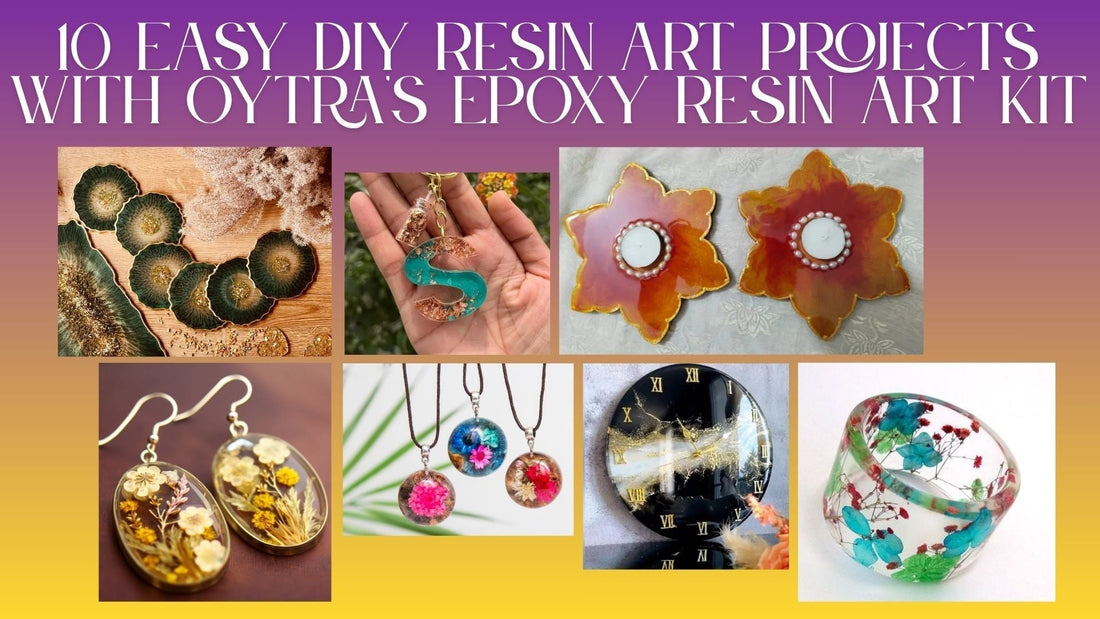
10 Easy DIY Resin Art Projects with Oytra's Epoxy Resin Art Kit
Amidst the hustle of everyday routine, one yearns for moments to unwind and slow down. Whether you're a student or a professional in search of a leisure-time hobby or an aspiring artist eager to explore a new medium, DIY resin art can offer the perfect answer you might be seeking – simple yet rewarding.
Imagine being your stylist and designing resin pendants, resin earrings, and unique resin coasters for your kitchen sets. Or crafting gifts for your loved ones, which are testimonials of your love, patience, and thoughtfulness – personalised name-initial resin keychains or artsy resin bookmarks! How about creating resin frames for your cherished memories? Beyond the simple joy of creation, DIY resin art is about flaunting an artsy lifestyle!
If these ideas intrigue you, read this blog to know 10 easy DIY projects for beginners, with quick how-to guides, which you can perform using Oytra's Epoxy Resin Art Kits.
Craft your fashion accessories! - Resin earrings, necklaces with resin pendants, and bangles are eye-catching with their vibrant colours and embedded charms.
1) Earrings and Necklace Pendants –
Quick Guide: -
Pour a thin layer of well-mixed resin-hardener solution into the mould, arrange the flowers as desired, and let the resin cure.
Cure this initial layer of resin completely by leaving it under the UV lamp for a few minutes. If not using UV resin, let it cure by leaving it aside, untouched, for 5-6 hours. This primary curing ensures that the flower arrangement is now firmly attached to the mould.
Now, pour the final layer of resin over this to fill the mould fully and let it cure completely.
Gently remove the rock-hard, crystal-clear resin earring/ pendant from the mould and attach earring hooks.

Check out Oytra's Resin Earring Kit with Accessories {glitter flakes and dried flowers }

Check out Oytra's UV Art Resin, best suitable for small Jewellery Projects
2) Bangles-
Quick Guide:-
Into the well-mixed resin-hardener solution, add a few pinches of mica powder and stir until the resin has evenly transformed into the desired shade. Pour into the mould. Let it cure. Demold.
Alternatively, you can use the dried flowers- pour a thin layer of resin, arrange the flowers into it as desired, and let this initial layer cure. This primary curing ensures that the flower arrangement is now firmly attached to the mould.
Now, pour the final layer of resin over this to fill the mould fully and let it cure completely. Demold.

Shop Oytra's Resin Bangle Kit with 6 mica powder shades and pressed flowers
Elevate your kitchen aesthetics!- Handmade resin coasters and tea trays can add the much-needed aesthetic charm to your kitchen.
3) Coasters-
Quick Guide:-
Mix the pigment into the well-mixed resin-hardener, or create separate colored mixtures to pour side by side into the mold for a swirled effect. You can either mix them directly into the resin for an even distribution or sprinkle 5-6 pinches on top of the poured resin and gently push them down with your stick.
After the curing period, ensure your coaster is non-sticky and rock-hard to the touch. Once fully cured, carefully remove it from the silicone mold to reveal your creation.

Check out Oytra's Coaster Making Kit with Accessories like pigments and gold flakes
4) Tea Tray-
Incorporate pigments into the well-mixed resin-hardener solution for a solid color, or create separate colored mixtures to pour side-by-side for a swirled effect.
For glitter flakes, mix them into the resin for even distribution, or sprinkle them on top of the poured resin and gently press them down. If using dried flowers, carefully arrange them in the mold before pouring any resin, then pour the resin slowly, adjusting the flowers with a stick as needed.
Lightly cover the mold to protect your project from dust and other particles. Allow your tea tray to cure undisturbed for 24-36 hours at room temperature. Demould.

Know more about Oytra's all-in-one beginner-friendly Tea Tray Set
5) An evergreen gifting choice - Keychains!
Add your chosen embellishments into the well-mixed resin-hardener solution before pouring it into your molds.
Mix glitter flakes directly into the resin, or sprinkle on top and gently push down. Blend a few drops of pigment into your resin. For multiple colors, pour different colored mixtures side-by-side. For items like flowers or miniature pictures, pour a thin base layer of resin, place your inclusion, and let it partially cure for 5-7 hours to secure it. Then, fill the rest of the mold with more resin.
Let it cure. Then demould. Attach the keychain ring securely to the designated hole.

Check out Oytra's Keychain-making Kit with 3D Alphabet moulds

6) Every reader’s second most prized possession, next to books- bookmarks!- Resin bookmarks can be designed into a variety of shapes and designs, as the reader delights.
Quick Guide:-
Into the well-mixed resin-hardener solution, add a few drops of pigment and stir until the resin has evenly absorbed the shade.
As the kit contains two pigment shades, you can create separate colored mixtures and pour side-by-side into the mold, let them gently run into each other for a dual-colour, swirled effect.
Let it cure. Demold.
 Check out Oytra's Feather-shaped Resin Bookmark Kit
7) An artsy, timeless addition to your home decor- Handmade Resin Clocks!
Quick Guide:-
Into the well-mixed resin-hardener solution, add a few drops of pigment and stir until the resin has evenly absorbed the shade.
As the kit contains two pigment shades, you can create separate colored mixtures and pour side-by-side into the mold, let them gently run into each other for a dual-colour, swirled effect.
Let it cure. Demold.
 Check out Oytra's All-in-one Resin Clock-making Kit
8) Give a modern, artsy spin to your rakhshabandhan ritual- Handcraft a resin rakhi for your sibling and elevate this symbol of tradition into a unique fashion statement.
Quick Guide:-
Into the well-mixed resin-hardener solution, add a few pinches of mica powder of the shade of your choice and stir until the resin has evenly absorbed the colour.
As the kit contains many colours, you can create separate colored mixtures and pour them side-by-side into the mold, let them gently run into each other for a multi-colour, swirled effect.
Let it cure. Demold. Entwine it with the string, add beads if you like, and knot to secure tightly.

Check out Oytra's All-in-one Resin Rakhi-making Kit
9) Eternalise your memories with a personal touch- Resin photo frames are a beautiful way of preserving your memories.
Quick Guide:-
Mix and stir the gold flakes into the well-mixed resin-hardener mixture.
Pour a thin layer of it into the mould. Place a miniature photo of your choice on this resin layer. Arrange the string light along the border of the mould, slightly pushed into the resin. Let this layer cure so that the image and the string light are firmly embedded into the cured foundational layer.
Now pour the final layer of resin as a coating. Let it cure and demould. Place the frame on the stand.

Check out Oytra's beginner-friendly Photo Frame Kit
10) A beautiful addition to your Diwali Festivities- Resin Diya-holder can add to the glow and elegance of even the simplest diyas.
These are like coasters but for your diyas. So, place the golden lamp container at the center of the container and then follow the same steps as mentioned for coasters.
 Buy Oytra's DIY RESIN Diya-holder Kit
Pick up any project that truly fascinates you and start creating today! Oytra's wide range of art resin kits is designed to support your aspirations as a beginner. Get your hands dirty and truly embrace the inevitable messy starts and mistakes that are bound to happen.
1 comment
afu1im