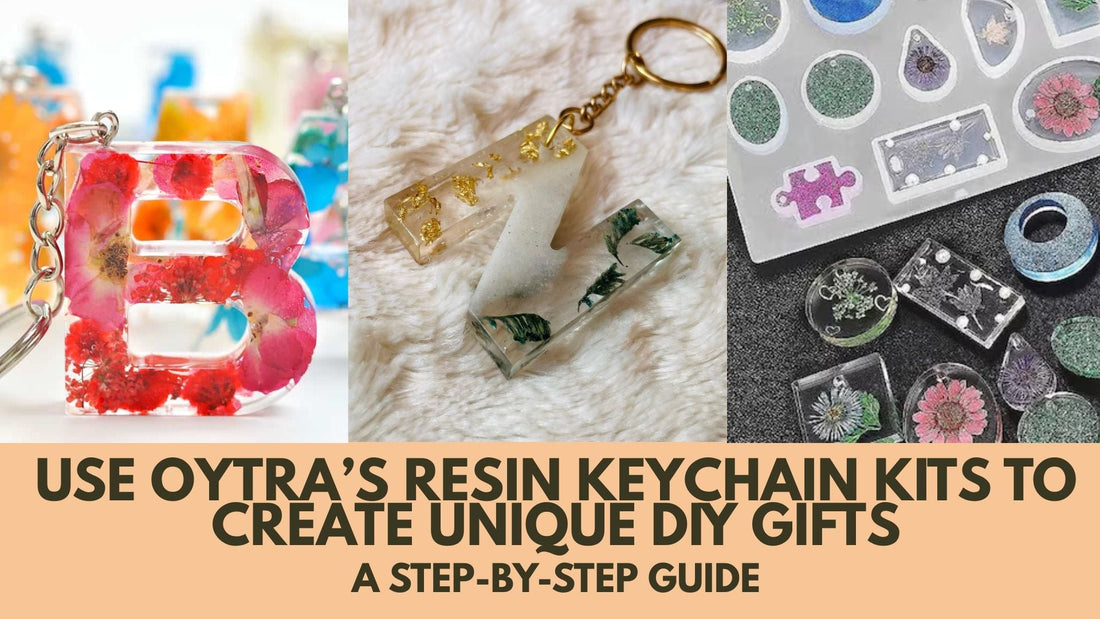
Use OYTRA’S Resin Keychain Kits To Create Unique DIY Gifts- Step-by-step Guide
Share
Whether it’s for birthdays, anniversaries, or just a sweet gesture, keychains are an evergreen gift idea.
Follow these simple steps to craft personalised keychains using Oytra's DIY Art Resin Kits.
Step 1: Start with the Magical Potion –Resin and Hardener Mixing
This is the most crucial step for successful resin art! OYTRA Epoxy Art Resin has a 2:1 formulation, meaning for every 2 parts of resin (Part A), you add 1 part of hardener (Part B).
Use a measuring cup or a weighing scale and be as accurate as possible. For example, mix 60 g of resin with 30 g of hardener. Similarly, for 100 g of resin, use 50 g of hardener.
Once measured, use the paper cups use a wooden stick to mix gently yet consistently for 3-4 minutes. Make sure to scrape the sides and bottom of the cup to ensure everything is fully combined.

Step 2: Decorations and the pouring-

Check out Oytra's Alphabet-Keychain Kit with Accessories{ glitter flakes & pigments}
Glitter flakes-
Glitter flakes can be used in two ways for an even sparkle or a concentrated effect. The more effective method is to mix them directly into the resin by stirring well, and then pour it into the mould. Otherwise, sprinkle 5-6 pinches on top of the poured resin and gently push them down with a stick.
Pigments-
Add a few drops into your resin-hardener mixture and stir it well until the color is fully blended. As this kit contains two pigments, there are plenty of ways to customize your keychain's color scheme. You can create two separate resin mixtures, one with each color pigment. Pour them side-by-side into the mold and let them gently run into each other.

Pressed Flowers-
For embedding the pressed flowers, pour a thin layer of resin and place the flowers into it. Let this layer cure slightly, for 5-7 hours-the flowers get firmly stuck on the mould. This will ensure that the flowers don't float around. Then, pour more layers of resin as much as required to fill the mould to its brim.
Customisation-
Add a personal touch by placing a miniature picture in the mould on a thin initial layer of glitter-mixed resin, let it cure so that it gets firmly attached to the mould. Then, pour more layers of resin as much as required to fill the mould to its brim.
Step 3: Wait for the Beauty to Come to Life!
Lightly cover the mould so that dust and other unwanted particles do not settle on it.
Leave it aside for between 24-36 hours at room temperature. Avoid disturbing it during this curing period.
Step 4: Demould to Reveal Your Finished Resin Keychains!
Once fully cured and no longer sticky, remove it from the silicone mould.
Attach the ring to the tiny hole on your resin keychain and press it well to secure it tightly.
Explore other beginner-friendly kits by Oytra: tea coasters, earrings, pendants, and clocks.
With OYTRA ART RESIN KITS, you'll have plenty of room to get your hands dirty and truly embrace the inevitable messy starts and mistakes that are bound to happen.
For a similar step-by-step guide for each of these kits, visit the Art Resin blog section on Oytra's official website.

3 comments
Sir I want to make this product for my business soo it is possible
Because I like it soo much
Sir I want to make this product for my business soo it is possible
Because I like it soo much
j5ppup