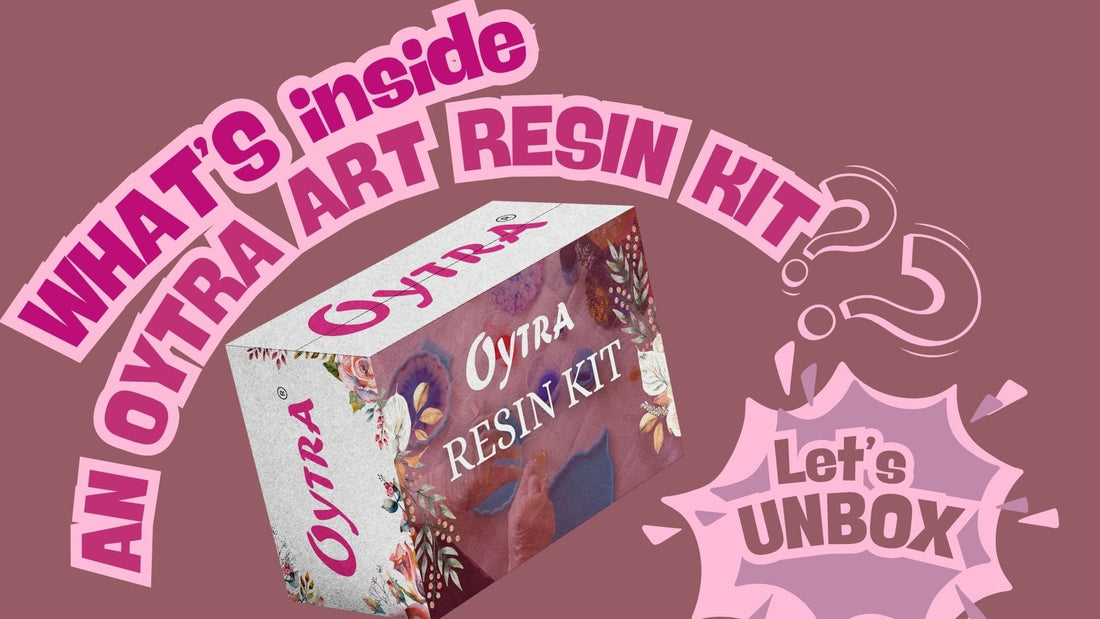
What’s inside an OYTRA ART RESIN KIT? Unboxing and Guide.
Share
If you’re a budding resin artist, you need to master the basics before you venture into bigger resin adventures. That’s precisely why Oytra offers a wide range of art resin kits designed to support your aspirations as a beginner. These kits are perfect for exploring various small, beginner-friendly projects. You can craft whatever fascinates you – earrings, pendants, coasters or keychains. With OYTRA ART RESIN KITS, you’ll have plenty of room to get your hands dirty and truly embrace the inevitable messy starts and mistakes that are bound to happen.
In this blog, we unbox OYTRA RESIN ART KITS and guide you through how to use these to embark on a self-sufficient resin art project as a beginner.
UNBOXING AN OYTRA ART RESIN KIT
-
Guide Card- A quick roadmap!
Every kit comes with a guide card that breaks down the process into easy-to-follow steps using images.

-
Resin and hardener solutions, paper cups and sticks –The potion with magical powers!
OYTRA ART RESIN KITS bring along the Epoxy Art Resin and hardener, also known as Part A and Part B, respectively. These are to be measured and mixed accurately, for which the paper cups and the wooden sticks can be used. 
-
Silicone moulds –Where the beauty comes to life!
This is where your well-mixed resin is poured and begins its transformation into the solid, sturdy finish. These silicone moulds are flexible, easy to demould, non-stick, and perfect for capturing the fine details.
The shape of your mould depends on the resin art kit you’ve chosen-


The Jewellery kits contain many tiny shapes suitable for pendants as well as earrings

The coasters have disc-like, flowery shapes.
-
Pigments, glitter flakes, dried flowers -The much-needed charm!
These decorative elements introduce sparkle and texture to your resin art projects.

A Brief Step-by-Step Guide: How to Use the Oytra Art Resin Kit?
-
Mix Resin and Hardener by measuring accurately using the 2:1 ratio. For example, use 60 g of resin + 30 g of hardener. Stir gently for 3–4 minutes.
-
Blend in your pigment or glitter. Mix well for another 2–3 minutes.
-
Pour the mixture into the silicone mould. You can also get creative with designs- {dual colours or colour + glitters}
-
Cover the mould to prevent dust from settling. Allow it to cure for 24–36 hours at room temperature.
-
Gently remove your artwork from the mould- your resin piece is ready!
{ This is a general guide applicable to all projects. For a detailed guide, read "HOW TO USE AN EPOXY ART RESIN KIT". You can also visit the ART RESIN BLOGS section on our website to explore similar topics.}

1 comment
6e99yt